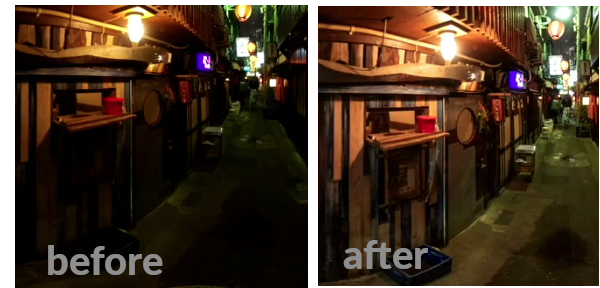
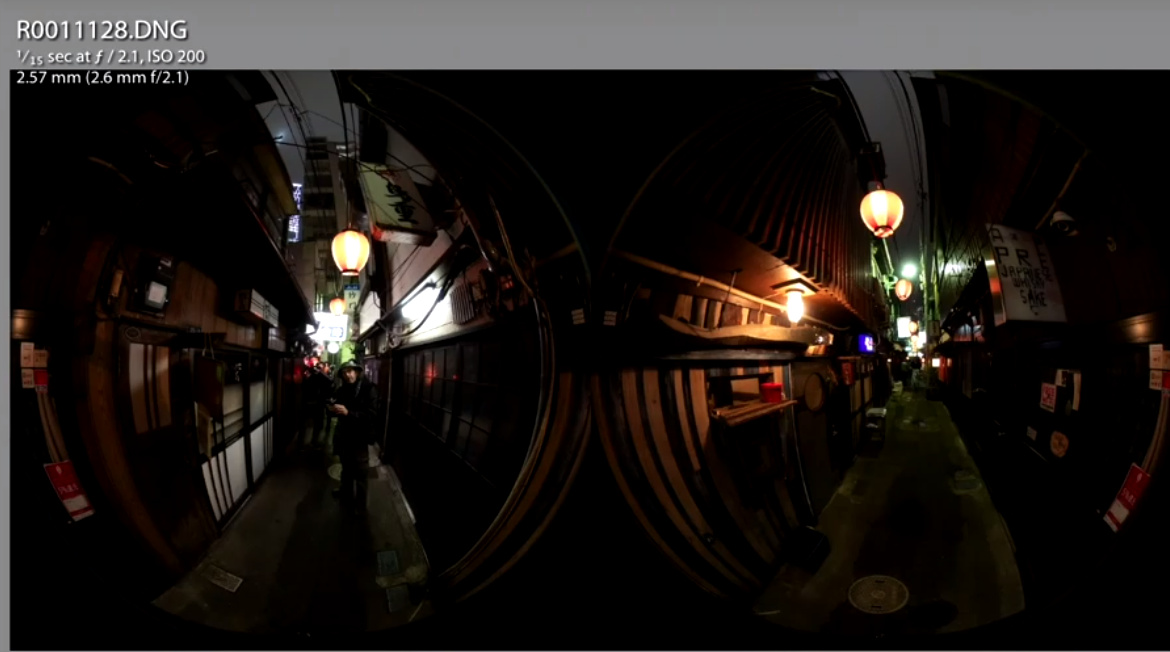
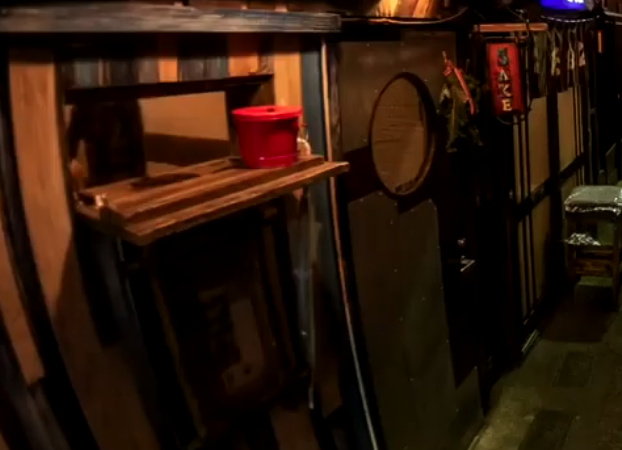
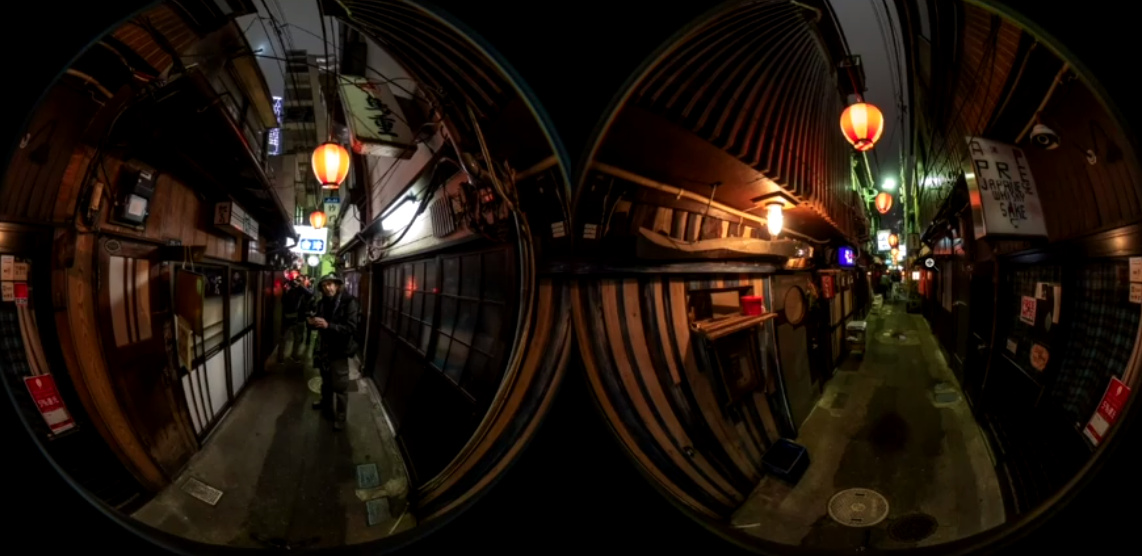
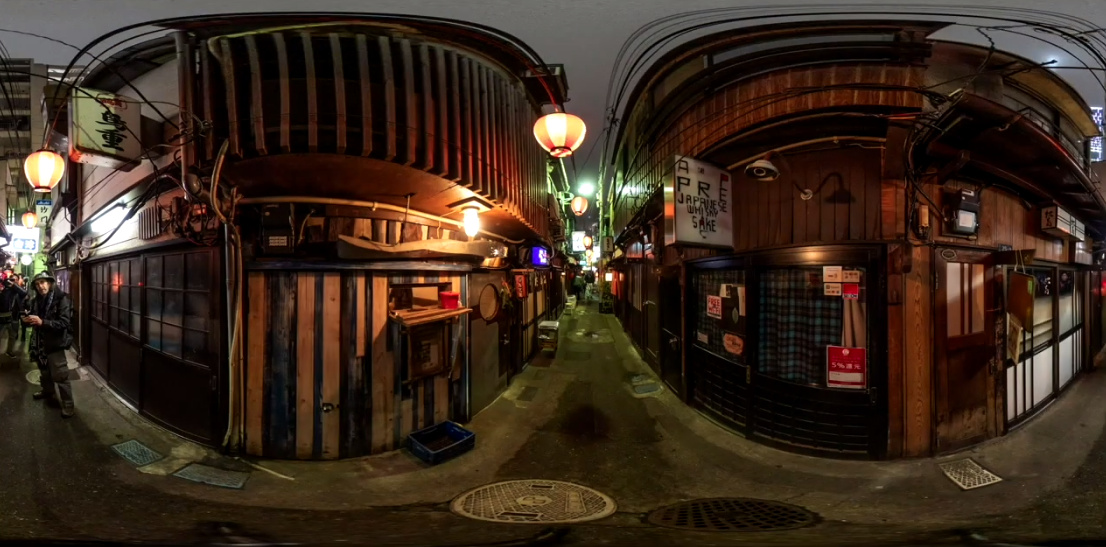
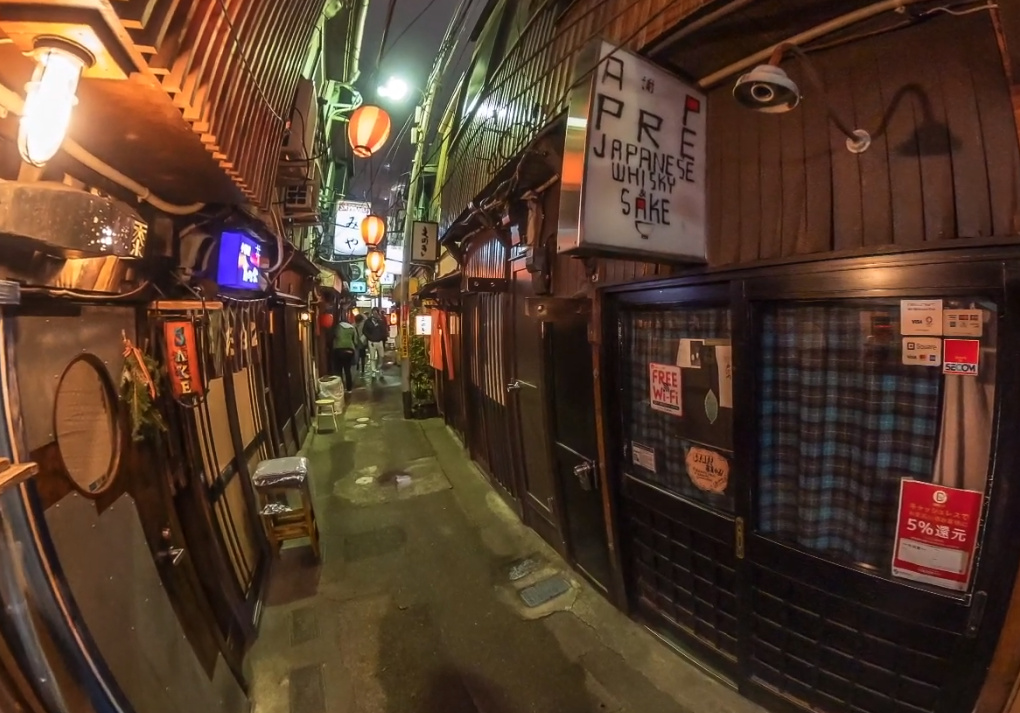
The Z1 can take DNG or RAW images, which offer much better image quality and lower noise when a picture is taken in low light conditions or if there is a bright spot such as a window and dark areas such as a corner of a room. This example shows the results of DNG editing in Lightroom. Photo by Sam Rohn.
Camera support note: Only the Z1 support DNG.
Shooting
Using the official RICOH mobile app, set the file format to RAW(DNG) + JPG.

Advice from Toyo Fujita
To get RAW(DNG) images, you must shoot with Auto(DR compensation),Av,Tv,ISO or Manual modes. I recommend you to select ISO priorty(ISO 80-100). Anytime you can adjust EV value. If you are skilled photographer, don't hesitate to use Manual mode. You can enjoy "Slow Shutter in 360" with selecting the mechanical aperture(2.1,3.5 or 5.6). I always ignore White Balance or set Auto WB. No worries. That's an advantage of RAW(DNG) shooting.
Stitching Image
The Z1 will save the DNG image in dual-fisheye. To post the image to a place like Facebook or an image sharing site, you need to stitch the image into equirectangular format.
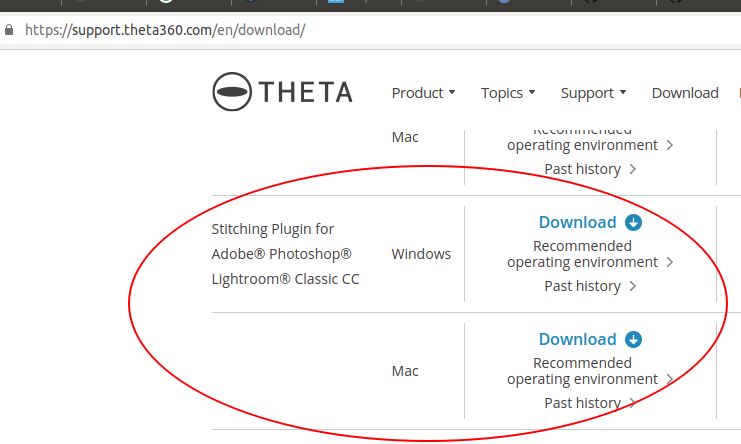
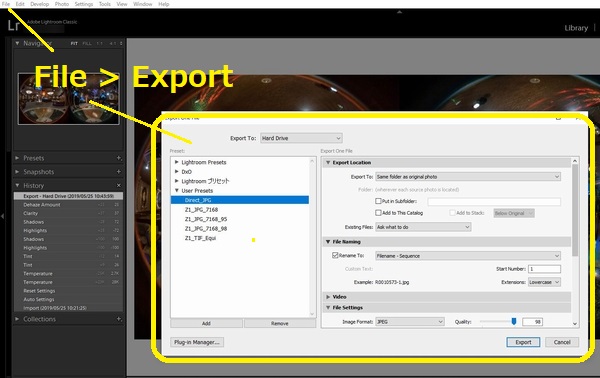
Get the Lightroom plug-in.
https://support.theta360.com/en/download/
Guides
RAW(DNG) Photo Basic Workflow; RICOH THETA Z1
by Toyo Fujita
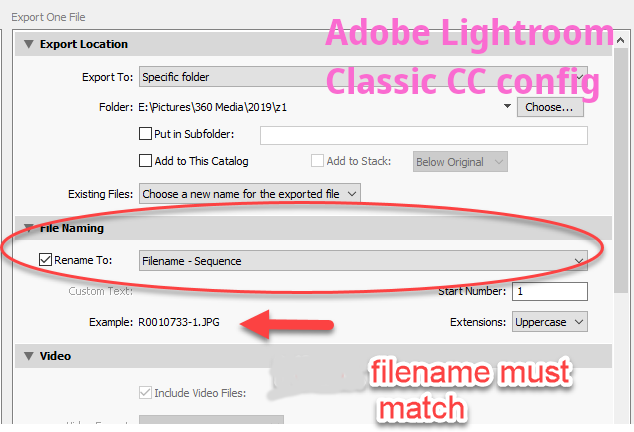
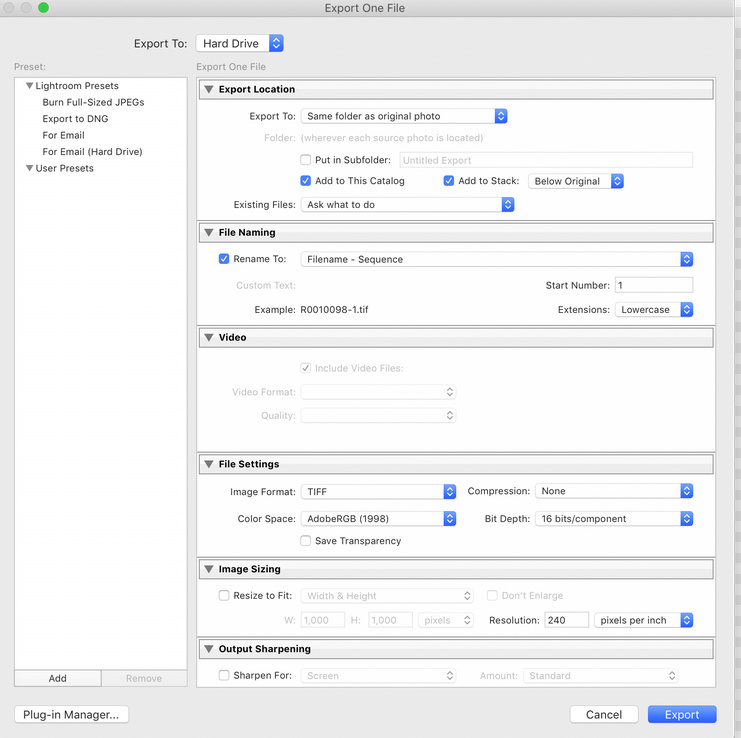
- Export Location
Select "Same folder as original photo" for "Export to".
- File Naming
Select "Filename - Sequence" for "Rename to". The plugin requires the original file name.
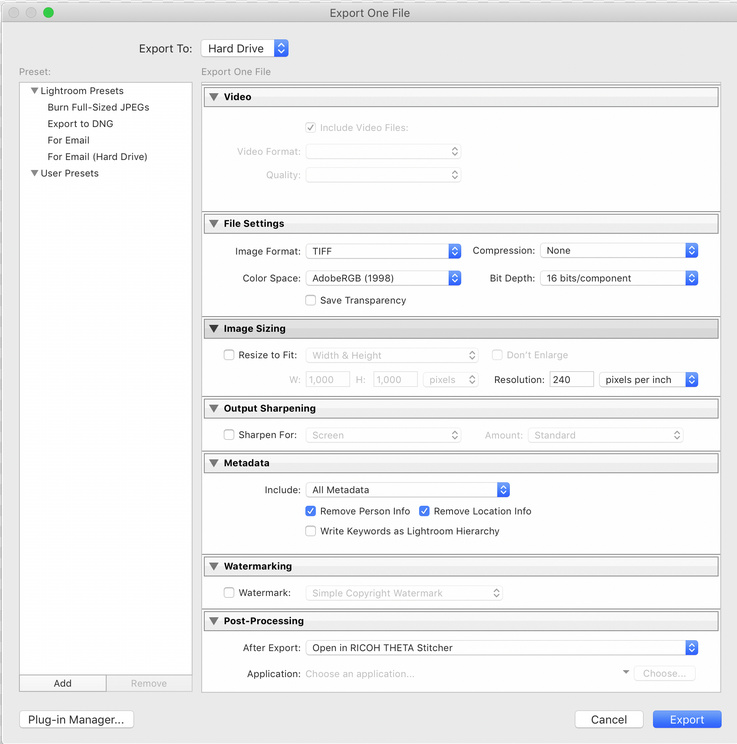
- File Settings
Select "TIFF"(Format), "None"(Compression), "AdobeRGB(1998)"(Color Space) and "16 bit"(Bit Depth) for each setting.
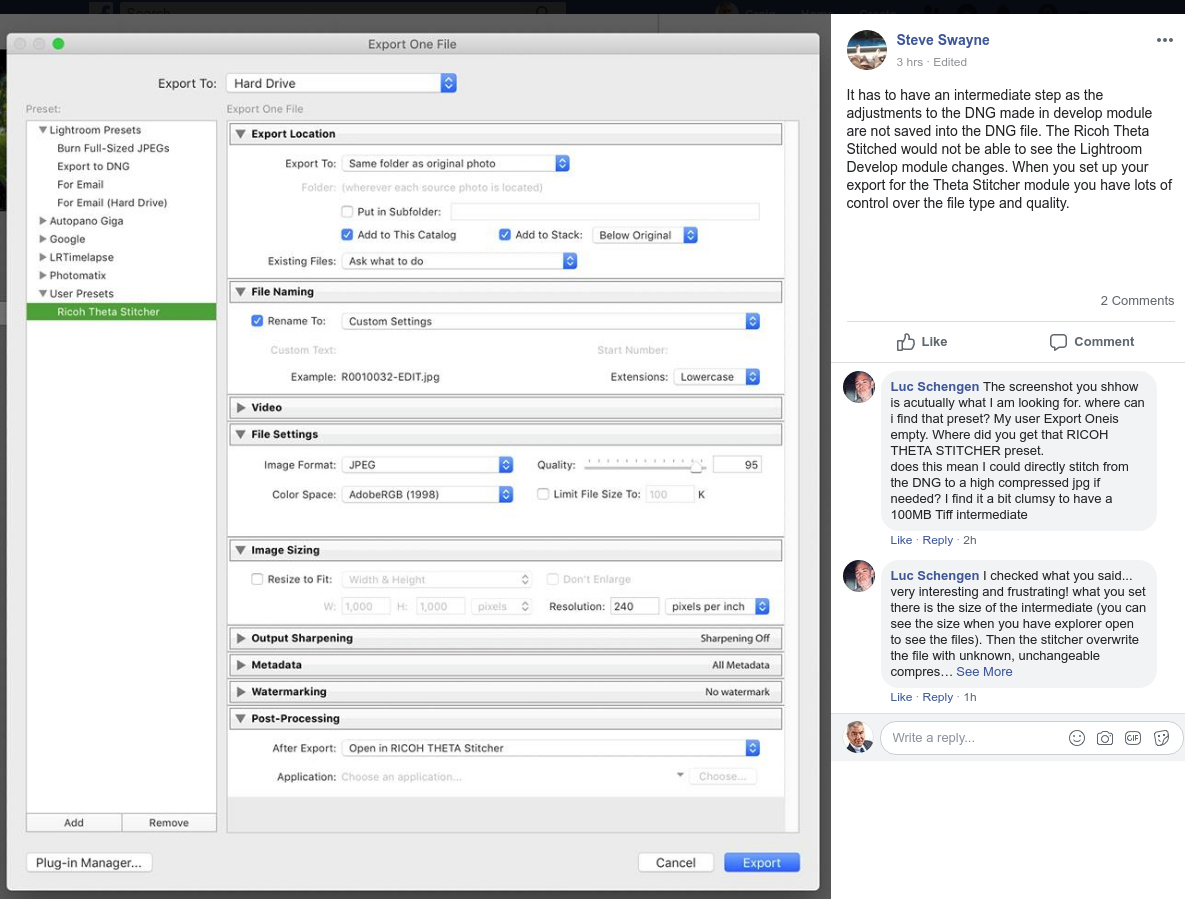
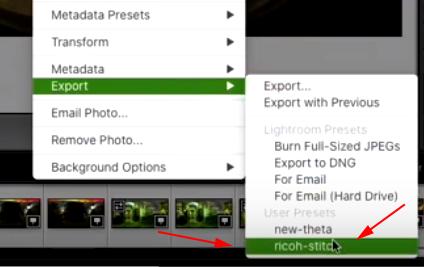
- Post Processing
Select "Open in other Application..." for "After Export". and choose "RICOH THETA Stitcher.exe" in the specific folder/location.
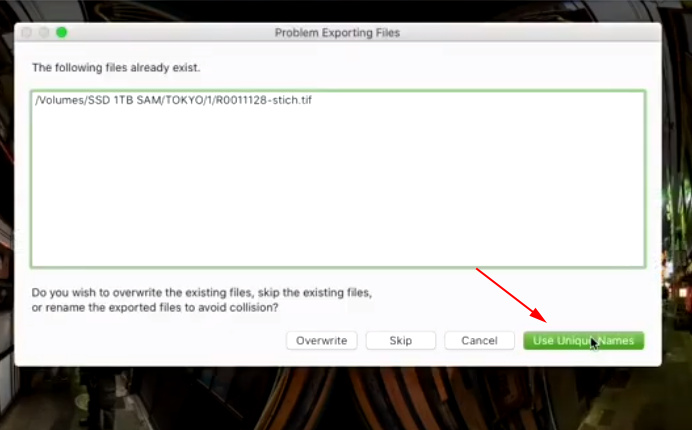
Problem and Solution
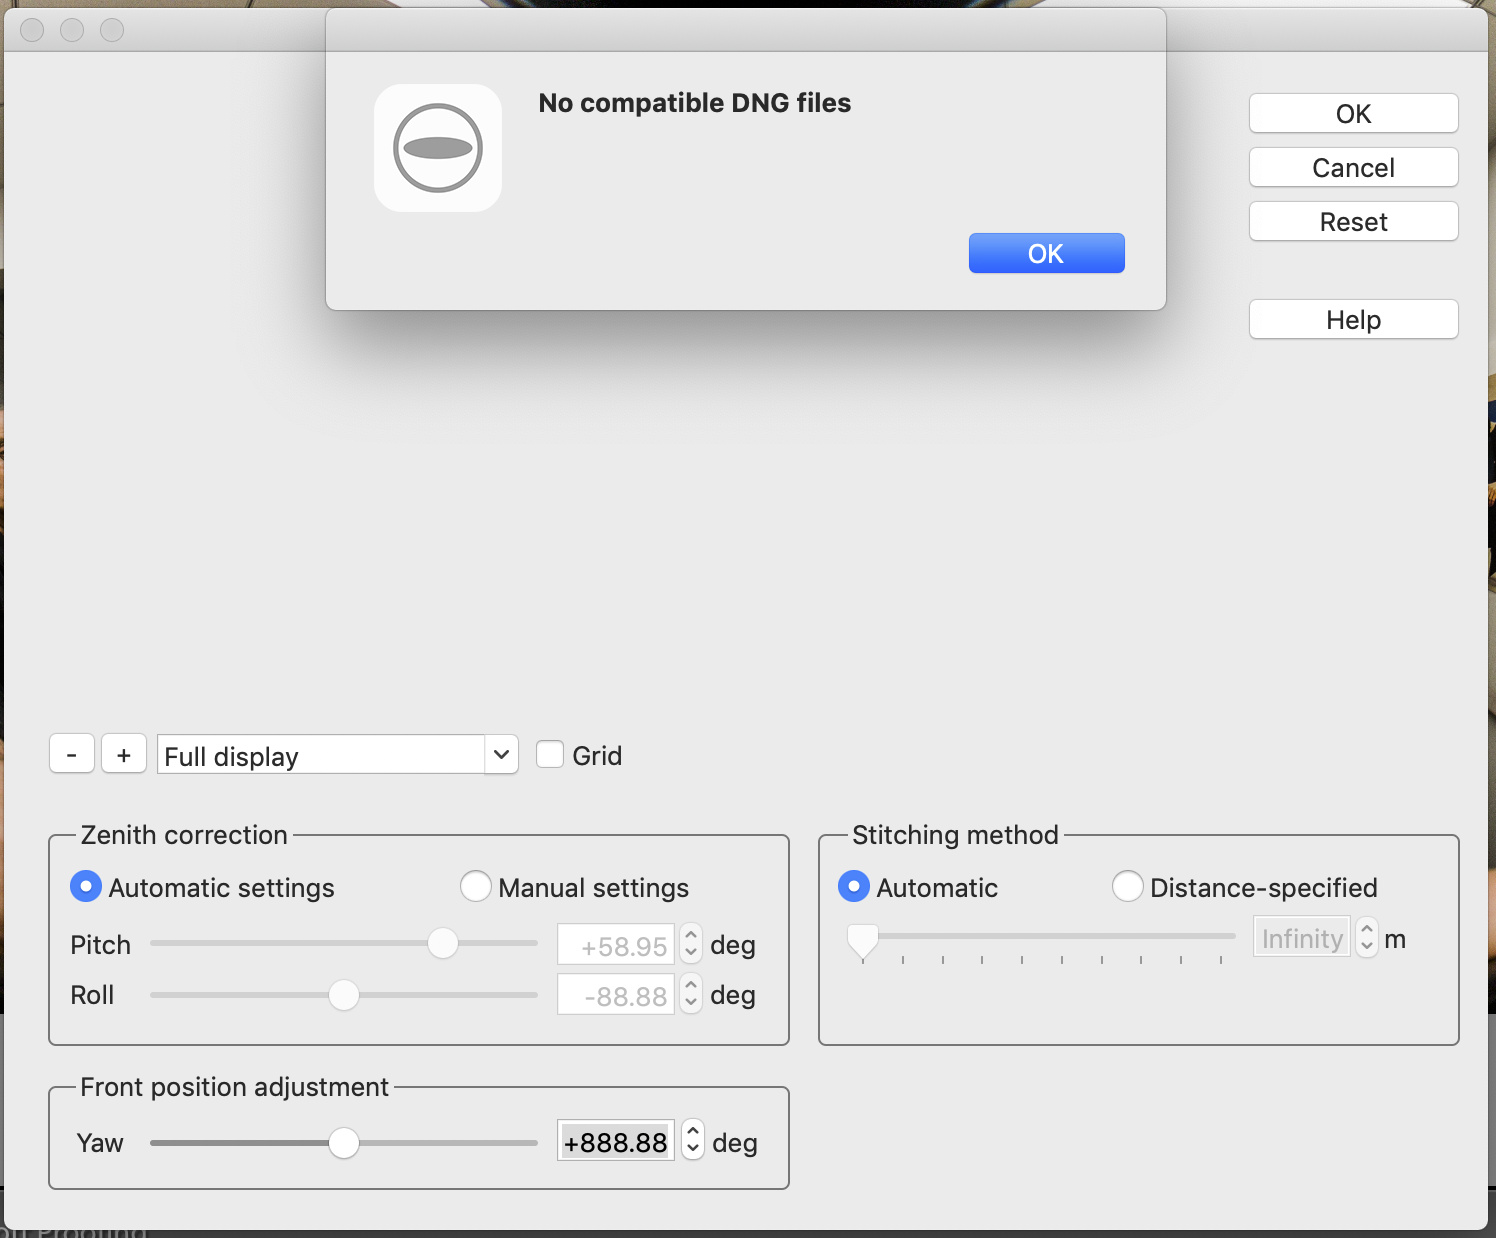
Solution: The filename and the directory of the output of Lightroom Classic CC must match the original DNG file location and name.
Editing the DNG
Technique by Sam Rohn as shown in this video https://youtu.be/HqDyQj_g-pA
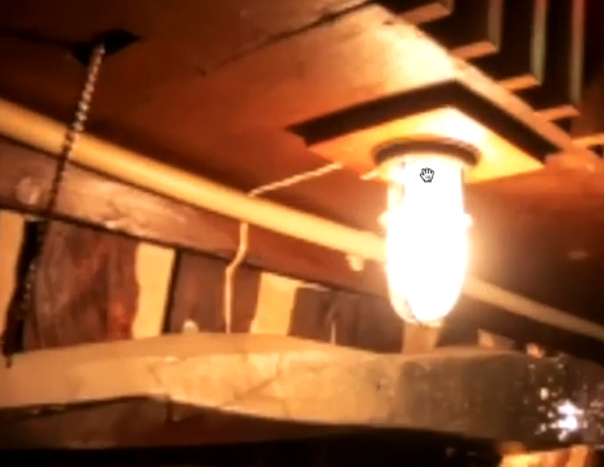
Original
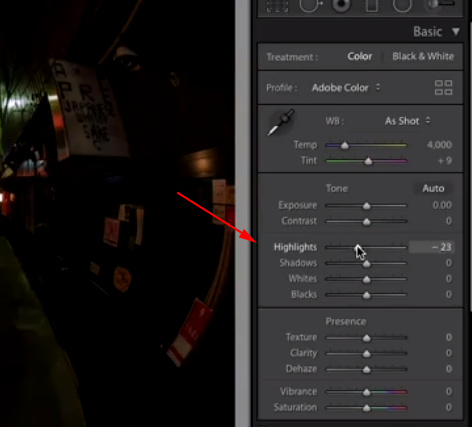
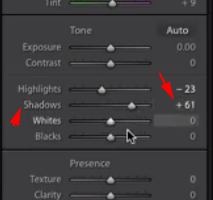
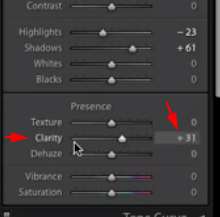
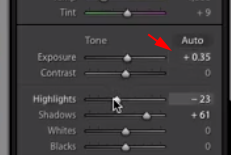
Reduce highlights.
-23
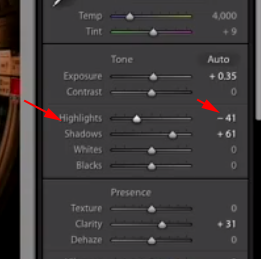
Increase Shadow
+61
Bottom or right sphere.
Increase Clarity
+31
Reduce Noise - Luminance
24
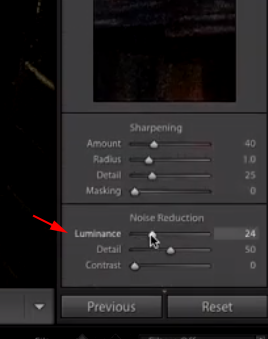
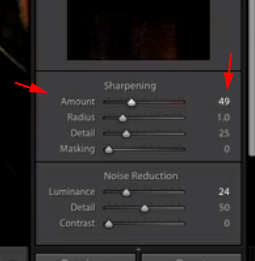
Increase Sharpening
from 40 to 49
Recovers detail lost by noise reduction
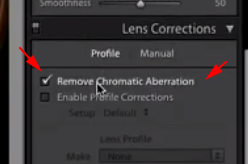
Fix Chromatic Aberration
Increase Exposure
+0.35
Dropped Highlights
-41
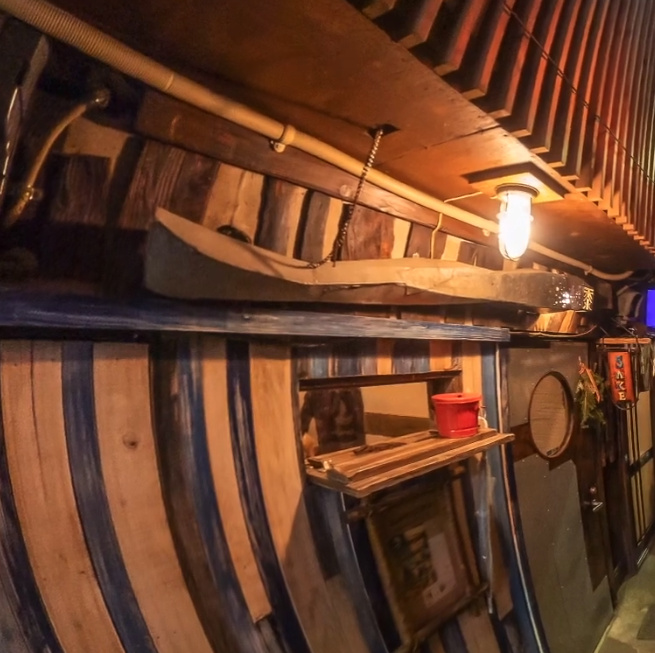
Draft Before Stitching
Stitch
Sam has set as a pre-set.
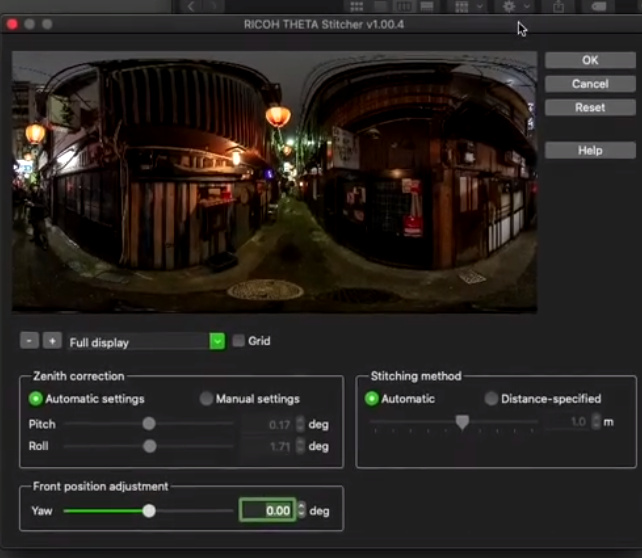
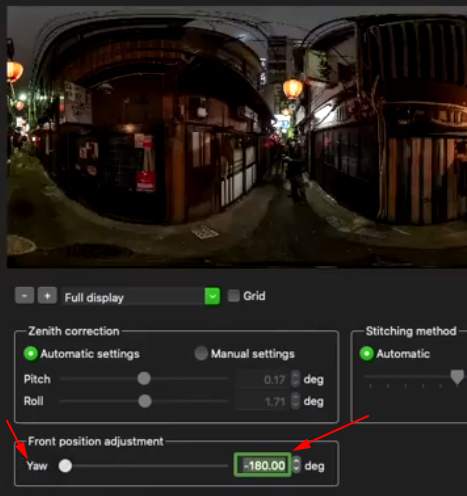
Adjust Image Centering
Back in Lightroom
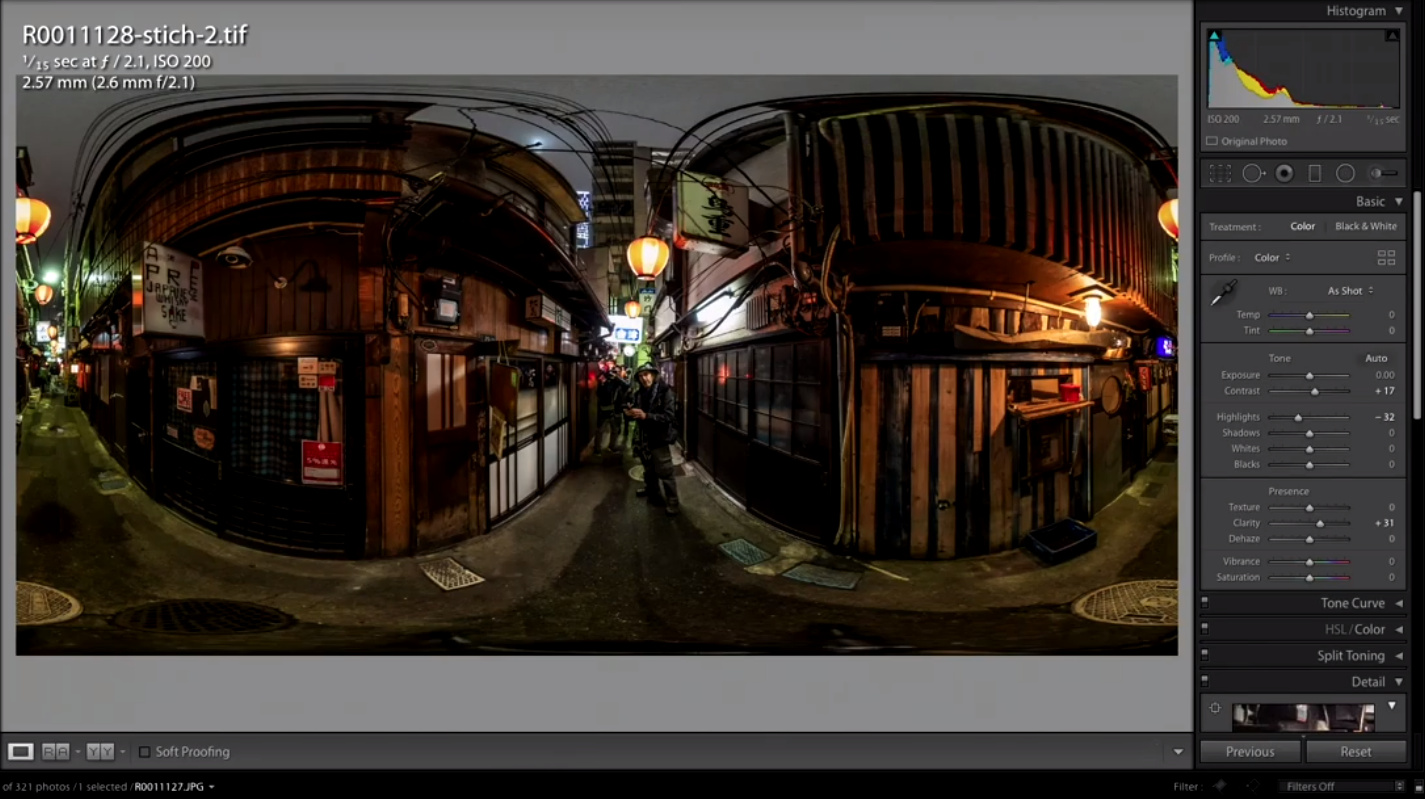
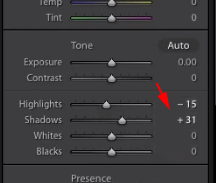
Bring down highlights
-15
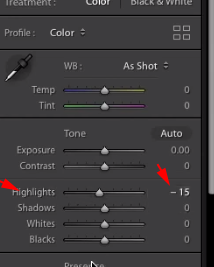
Bring up shadows
+31
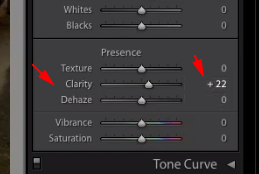
Bump up clarity
+22
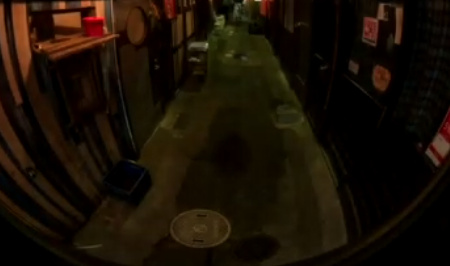
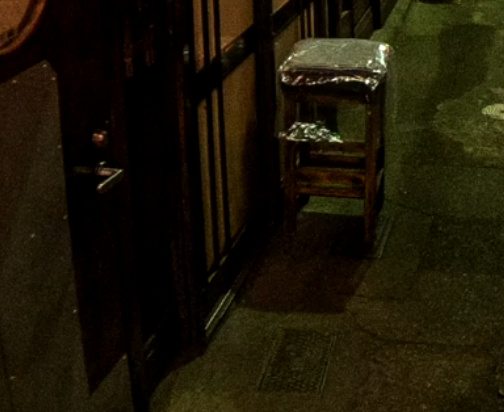
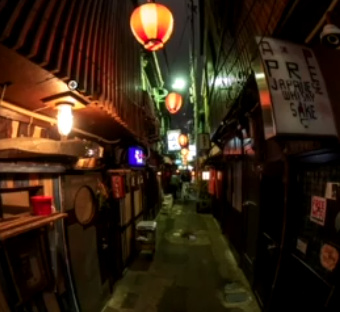
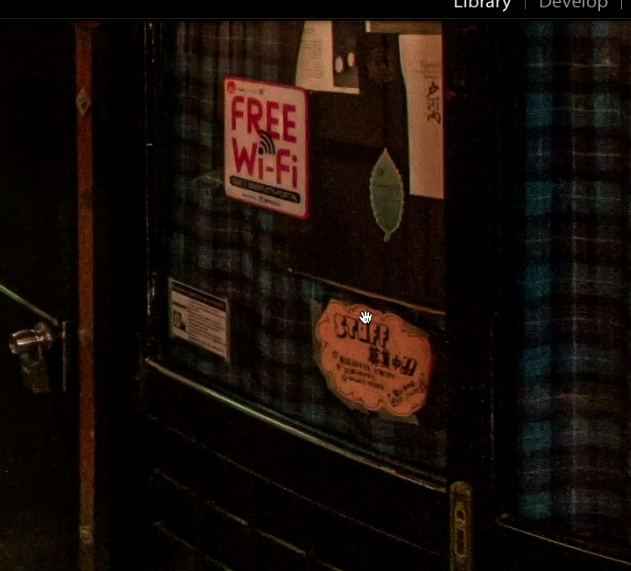
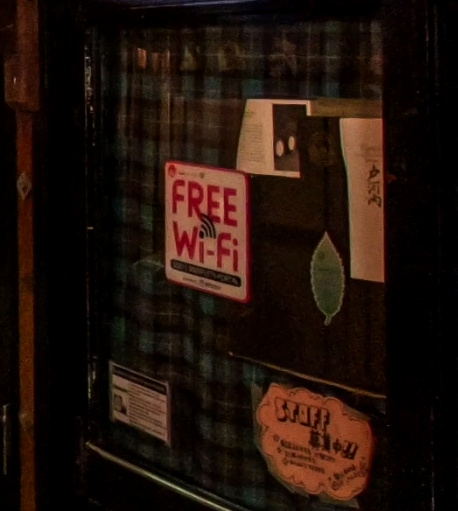
Original Compared to Developed
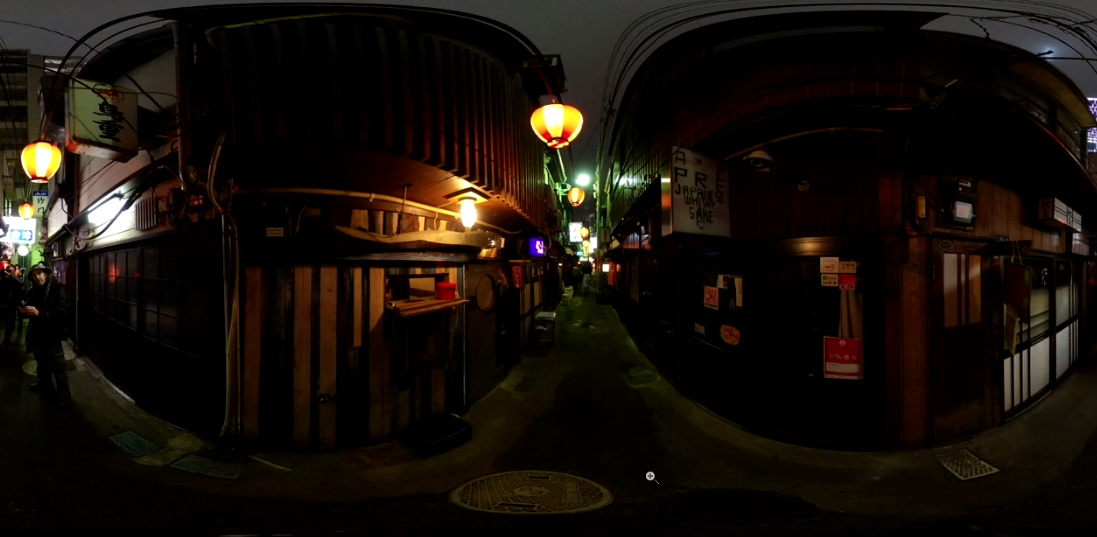
Dark areas have good detail.
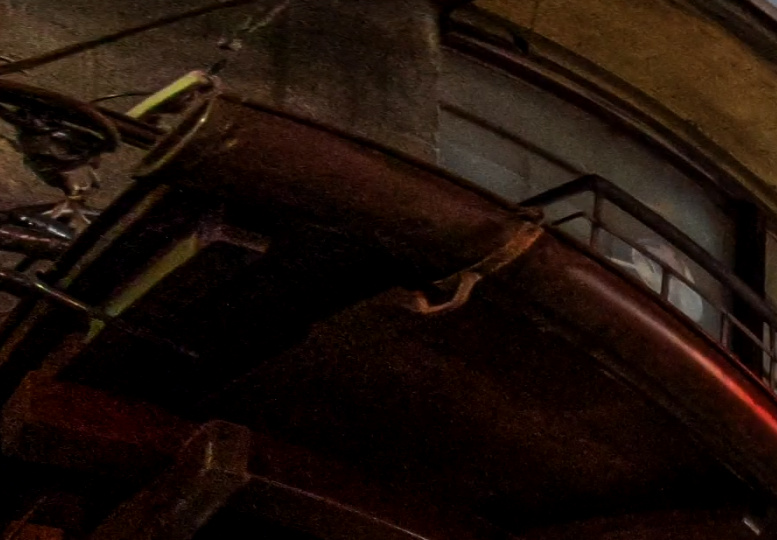
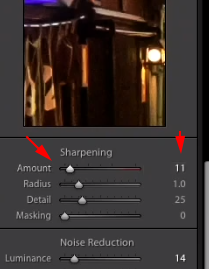
Fixing Minor Noise
Increase Luminance
+14
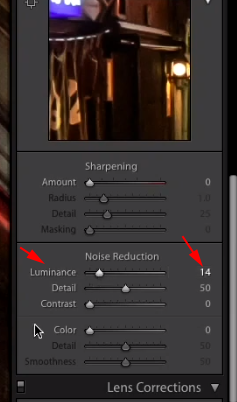
Increase Sharpening
+11
Final
Reference
- Original Video https://youtu.be/HqDyQj_g-pA